Sunny Days Classroom Kit

Brighten up any classroom with our printable kits

Lotsa Dots Classroom Kit

Colorful Printable kits help to cheer up any classroom

Sunny Days Classroom Kit

Organizational printables help keep your classroom functional and easy to manage

Back to School is a HOOT!

Colorful owls help bring an organized theme to your classroom

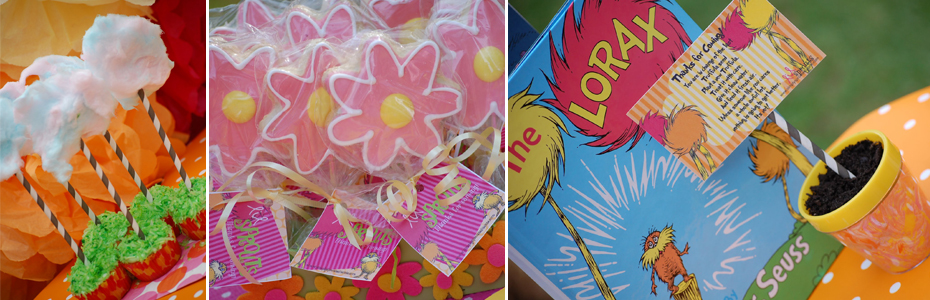
Lil Sprouts Educational Outreach: Lorax Party

Simply Sprout offers educational outreach to preschoolers using our classroom printable kits

Showing posts with label Fall Crafts. Show all posts

Monday, September 24, 2012

Fingerpaint and Glitter...No Joke!


 I truly never thought that I would ever type or say those two words together, fingerpaint and glitter.  It's been a long running joke that I tell my students at the beginning of each year that I'm allergic to glitter.  I don't mind mess, but when it lingers on your fingertips, eyelids, desks, oh say everywhere for months, I'm not so into it.  In honor of the fall feel to the air today, I embraced my inner glitter snob and conquered my fear.

This simple outside art activity created a seasonal masterpiece for our home.  I cut out some leaves using craft paper and an image from Google.  After the grown up part was done, I let little Picasso take charge.  We mixed Elmer's glue and water to make a solution perfect for glitter.  I held the leaves down, he painted the glue/water on with a paintbrush.  Using a paper plate underneath, we sprinkled with glitter.  I even bought glitter, there's a first for everything, and it's called Velvet Glitter.  Very fancy isn't it?  I really bought because it was a sample pack that came with lots of different colors.  
While the leaves were drying, the fingerpainting got underway.  We chose some fall inspired colors, and Mack mixed them about.  While the paint was wet, we stuck the leaves on the paper, and hung it up to dry.


I remembered that I had an unused shadow box inside (usually around $12-$15 at a TJ Maxx or HomeGoods type store).  I love to keep a couple to pop in seasonal things just like this.  The box allows the dimension of the piece to really shine.  Sounds very artsy doesn't it?


This quick art project with your kids will add some fall feel to your home or classroom.  What a wonderful way to introduce children to the idea that leaves change colors throughout the year.  What a vivid reminder at how beautiful this season is.  

Fall art like this would make a great addition to our Fall Bulletin Board kit in the Simply Sprout store.


Saturday, September 22, 2012

Happy Fall Y'all!


Welcome to fall y'all!  Today marks the first day of a wonderful season.  We don't see many signs of autumn around our parts, but we sure do enjoy the little taste that we get.  I am a lover of pumpkins, corduroys, burlap, football, pies, oh the list could keep going and going!  Despite it being in the high 80s in North Florida, we are happy to welcome this time of year with a kid friendly craft. 

You might have seen this paper bag oak tree in the past, but it is worthy of sharing again and again.  I've used it for years in my class to create family trees, but this year my son and I used it to learn about colors and practice his fine motor skills.  All you need is a brown grocery sack, and anything you would like to add to it.

To construct the tree you will open the grocery sack and turn in upside down.  Using scissors cut one inch strips around the bag from the opening to the first fold in the bag.  At this point it will look more like a jelly fish than a tree.  Just below that fold you are going to squeeze the bag by pushing in from the left and right.  Once you have a good handful, start twisting.  I used a wired ribbon to keep mine well twisted, but you don't have to.  Give the bottom of the sack a good whack to flatten it out.  Then you will simply twist each of the strips to create branches.  Younger children will need help with the construction, but by third grade they should be able to handle it on their own.


We used glitter scrapbook paper to create fall foliage.  The pumpkins are from the dollar section of Target (although they were $2.50 each...tricky, tricky), and add some more fall fun to our scene. 

Here are a few ways to keep the learning going with your fall trees:

*  Encourage children to write a story about their "magical" fall tree.
*  As mentioned above, research your family and create a family tree.  Each leaf is dedicated to one family member.
*  Have children write things that they are thankful for on leaves over the next month and leave out as November and Thanksgiving centerpieces.
*  Have students make a tree for a classmate.  The student is responsible for rounding up adjectives from other classmates that describe the person.  Then they are able to present a classmate with a tree full of positive remarks.
*  Create multiple trees to represent trees of all seasons.  Or simply do a drawing of the trees during different seasons. 

Most of all enjoy the first day and the many days to come to the fall season! 


Monday, September 26, 2011

The Letter O is for Owl! Hoot Hoot!

Today we learned about the letter O

We started out with a sensory activity. I squeezed some different colored paints ( blue, purple, black, light blue, glitter paint) onto a piece of construction paper. Kaitlyn practiced making her o's by moving the paint around with her finger. When she was all done we sprinkled on some glitter and set it outside to dry.


While it was drying we went out to the front yard and gathered some fall leaves and found a nice branch for our picture.

I used the hot glue gun to attache her branch and her leaves onto her painting.
I then traced the body of an owl onto some construction paper and asked Kaitlyn to color him brown.....I look over a few seconds later and see that she drew feet onto the owl ( this was a first for Kaitlyn) She is starting to become more accurate in her depictions of things. We made some handprints for wings and added them onto her picture!

We discussed today how owls are nocturnal animals and how they fly quietly at night to hunt for their food. We read several books today about Owls, Kaitlyn's Favorite was Owls, by Gail Gibbons


Letter O, Practice


Kaitlyn practiced her letter O's today on her mats I made. She used pom pom's to make the shape of the letter O. She also used her dry erase crayon board to trace the O's

Hoot Hoot! It's Orange Owl Cupcake Time


Kaitlyn and I had some fun in the kitchen this afternoon cooking up some orange cupcakes. Kaitlyn and I decorated them to look like owls. We used oreos and little green candies for the eyes. She then decorated the bodies with almond slivers and cocoa pebbles cereal to mimic the feathers. The finishing touch was a goldfish cracker as a beak. They were so much fun to make! Now to find a small army to eat some owl cupcakes!

Kaitlyn loves "school" time and loves practicing with her learning puzzles. This is a great one that we actually got as a gift. Kaitlyn matches the color or texture to the object. It is a great way to learn about describing words. When she is all done she practices reading the cards by pointing to the words and saying the describing word and the objects name.....a great way to develop those early reading and decoding skills.


Posted by Picasa

Wednesday, September 14, 2011

It's Finally Fall & The Letter L


This week we have been working on the letter L. Kaitlyn has been using her letter flash cards and puzzles to practice all of the letters we have learned so far. we start each day out with a review.

Letter Play

Today Kaitlyn used her pom poms to trace the letter L, she also used her homemade fundough to make her letters. We practiced her handwriting and trying to stay on the line while tracing her L's.

Another fun way to review letters is by using a paint tracing bag....Fill a ziploc bag with some paint, close it tightly and get all of the air out while sealing it closed. Have your little one use a q-tip to trace the letters onto the bag, the letters disappear quickly and are a great way to practice using some different materials.


Cooking up some patterns in the kitchen


We had fun cooking up some patterns in the kitchen this week. We made some sugar cookies and separated the dough into three bowls. kaitlyn and I read a book about Fall trees so I asked her what colors we see in fall she chose, green, red and yellow so we used some food coloring to dye the dough. Kaitlyn rolled it out and flattened it with her hands. Using some small leaf cookie cutters she cut out three different types of leaves one type for each color.

When the cookies were all done we practiced making patterns using the three colors of leaves....I must say Kaitlyn had fun with this activity....only hazard is the leaves started disappearing mid activity :)


Colorful Circles & Fall Suncatchers

All week we have talked about colors. We have learned about fall leaves and how they change colors. This activity is a lot of fun and illustrates how mixing two colors can make different colors. First you take a large piece of wax paper, then you squirt some hand sanitizer onto it. Then take some food coloring, we used red and yellow, add a few drops of each. Then fold the wax paper over covering the colors. Kaitlyn mixed the colors by practicing her circles. She drew large and small circles with her finger mixing the colors as she went. Tomorrow we will be using this to make some Fall sun catchers.....so check back to see pictures! we set it out flat to dry over night.


Our L Page 

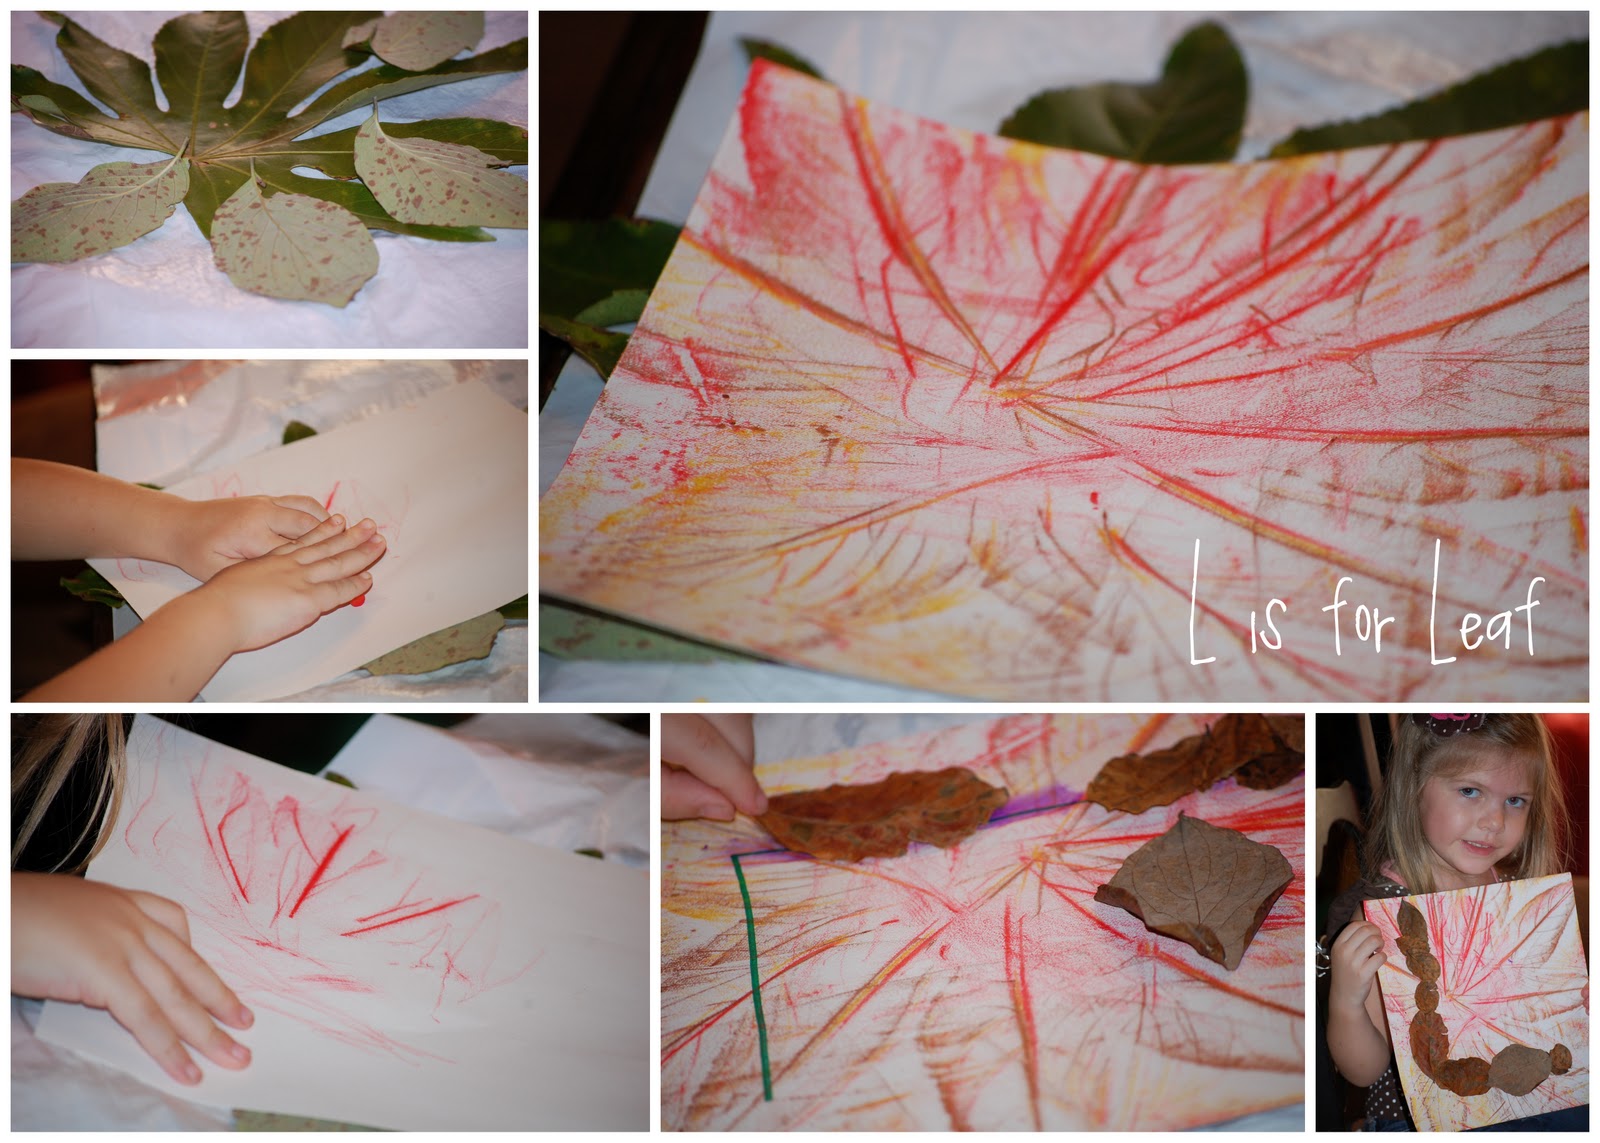
We made our L page for our ABC Book. Kaitlyn made a leaf rubbing using several leaves we found outside. I found it helpful to use double sided tape to stick these onto the table so they wouldn't shift while she was doing her crayon rubbing. I wrote the letter L using a sharpie marker and had Kaitlyn glue her smaller leaves onto the L.

All week we have been getting ready for fall we have enjoyed nature walks and many books about the changing of the seasons. Today we worked on some colorful and very messy art projects to get the house all ready for fall!


Get three large bowl and fill with 1/4 cup of paint we used red, brown and orange. I also mixed some bronze paint in with the brown to give it some shimmer. Then I added some water to dillute the paint. We took our containers outside and Kaitlyn took coffee filters and dipped them into the paint bowls, after she dipped them she wrung them out and then we set them out on the deck to dry. Setting them on wax paper works best for easy removal after drying.

Mommy's naptime craft project

While the kiddos were napping I put my crafting skills to work, I heated up my hot glue gun and got busy!
Step 1: Take a cardboard circle ( I use cake rounds) and cut out the center. Then take the painted coffee filters and bunch them up at the middle. Hot glue them onto the cardboard circle.
Step 2: Go around the whole circle in teh same fashion.
Step 3: Add som ribbon, loop it through the wreath and hot glue together, hang in front of a miror for a dramatic fall look!

I had some left over coffee filters so I added them onto some twigs we collected on our nature walk. They made for great table decorations in the dining room! The house is all decorated, the cinnamon candle is burning in the kitchen, my favorite sweater is hanging in the closet.....now if the cooler temperatures could just arrive!